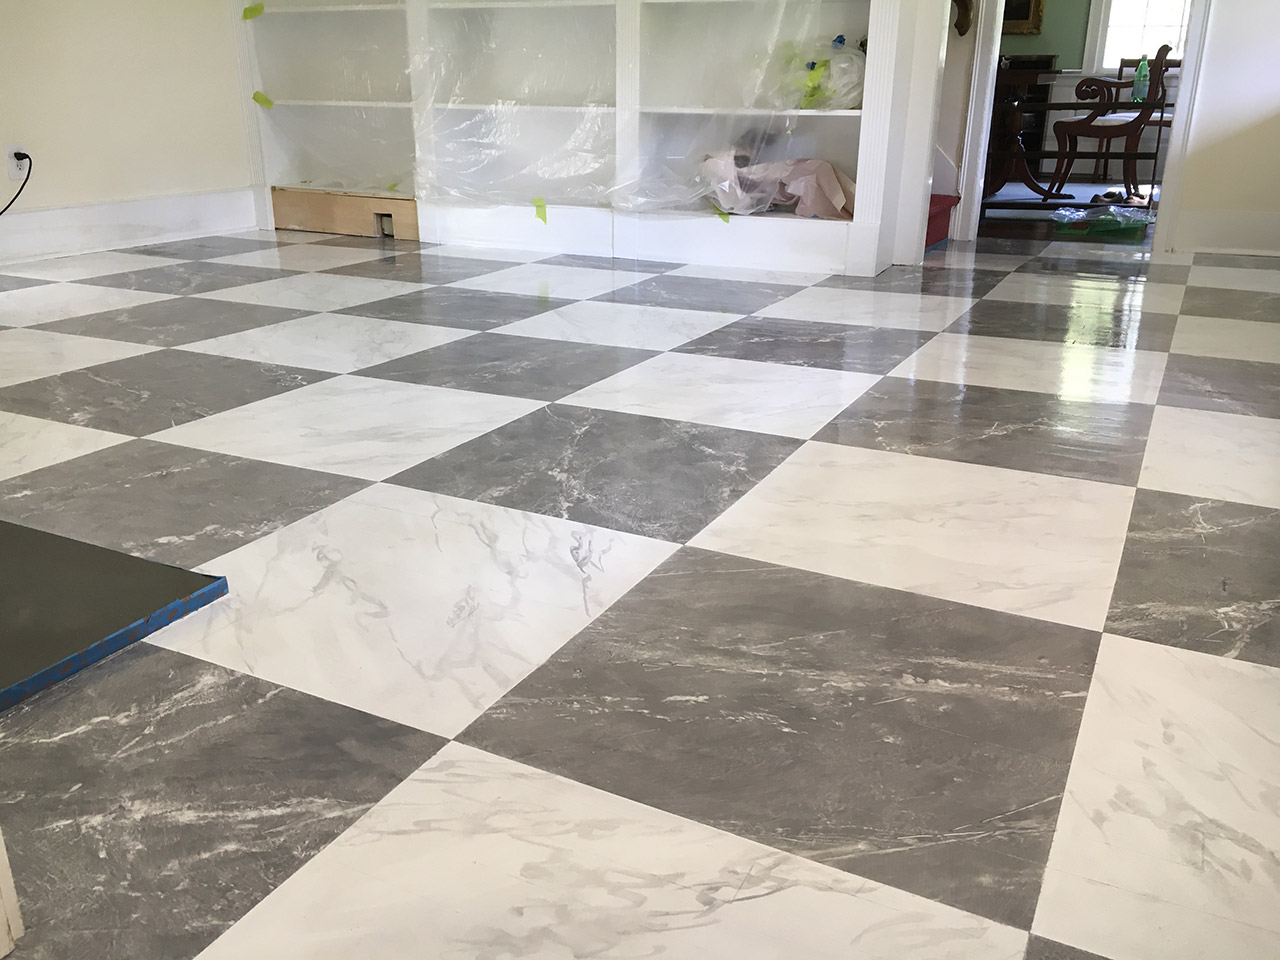
Faux Marble is one of my favorite techniques to paint. Back in the early 1980’s it was very popular and my friend and mentor Robert Jackson was a master of it. I thoroughly paid attention to everything he did and asked A LOT of questions. I can not count how many faux marble floors, walls, and ceilings I have painted since then.
This particular floor I painted in upstate New York at an 1820’s farm house with very dark oak stained floors.The task at hand was to completely transform this entrance way. My clients asked for a very specific charcoal and white marble checkered floor pattern to uplift their entrance foyer. We sifted through photos and tossed around ideas. I made a couple sketches of charcoal values and proportions of size according to the size of the room. I almost always find that any given room will dictate the size of pattern proportion. Unless there is a particular look that is desired, scale and proportion are a time tempered science. This is often overlooked by faux finishers but it makes all the difference and a room can feel awkward or that feeling like something is just not right if the proportions are off for the space.
After we all agreed on color and size, I began by sanding the floor to make sure there was no residue of old varnish or wax that would potentially inhibit the bonding of the first primer coat. This is the most crucial element of preparation, If this is NOT done correctly the end result could be disastrous and often an area overlooked by faux painters.
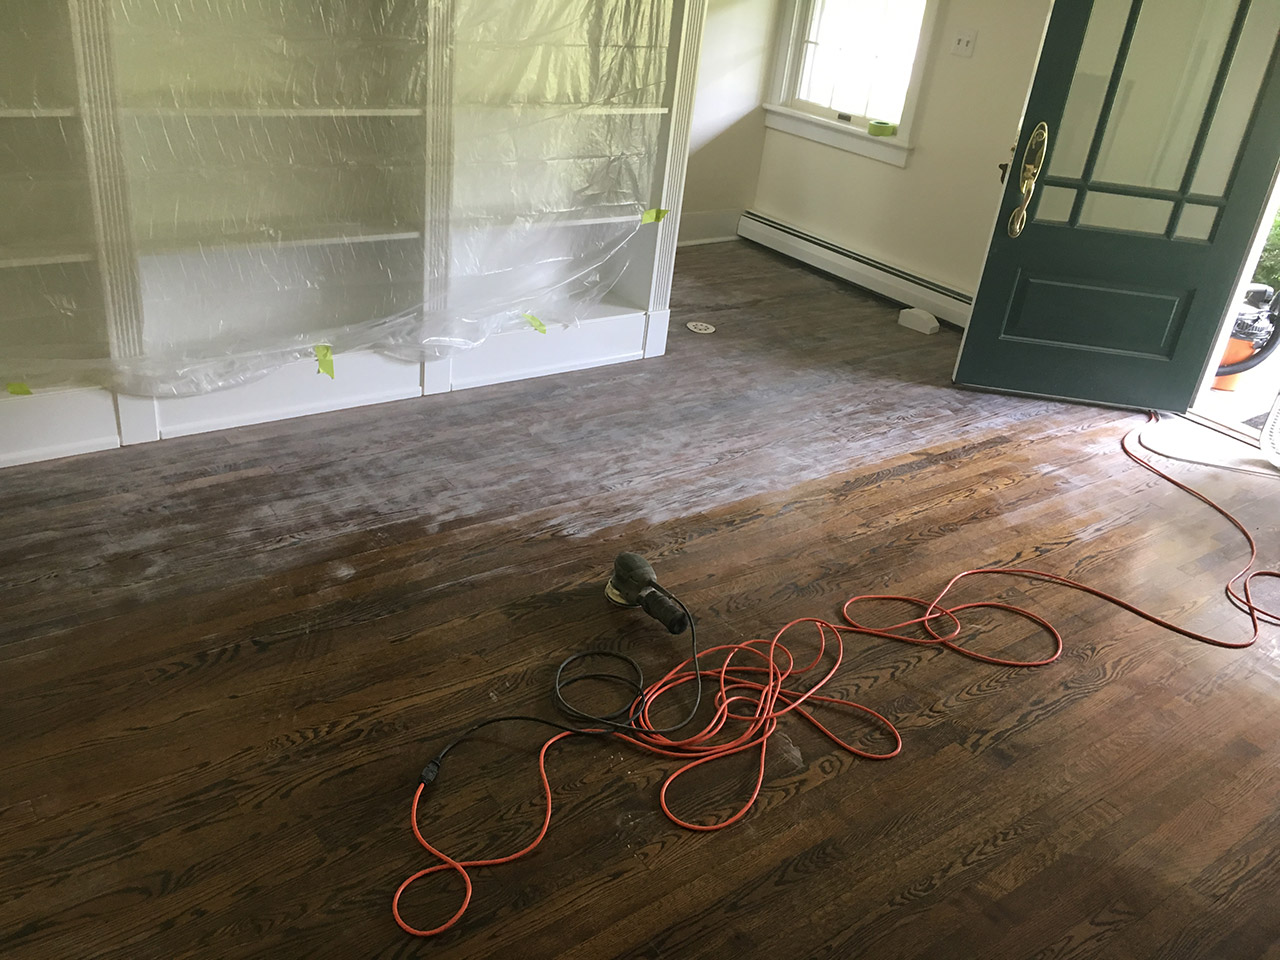
After the sanding was completed and the vacuuming of all dust I then proceeded to apply two primer coats letting each coat dry completely before applying the next coat. Then I applied one top coat of white.
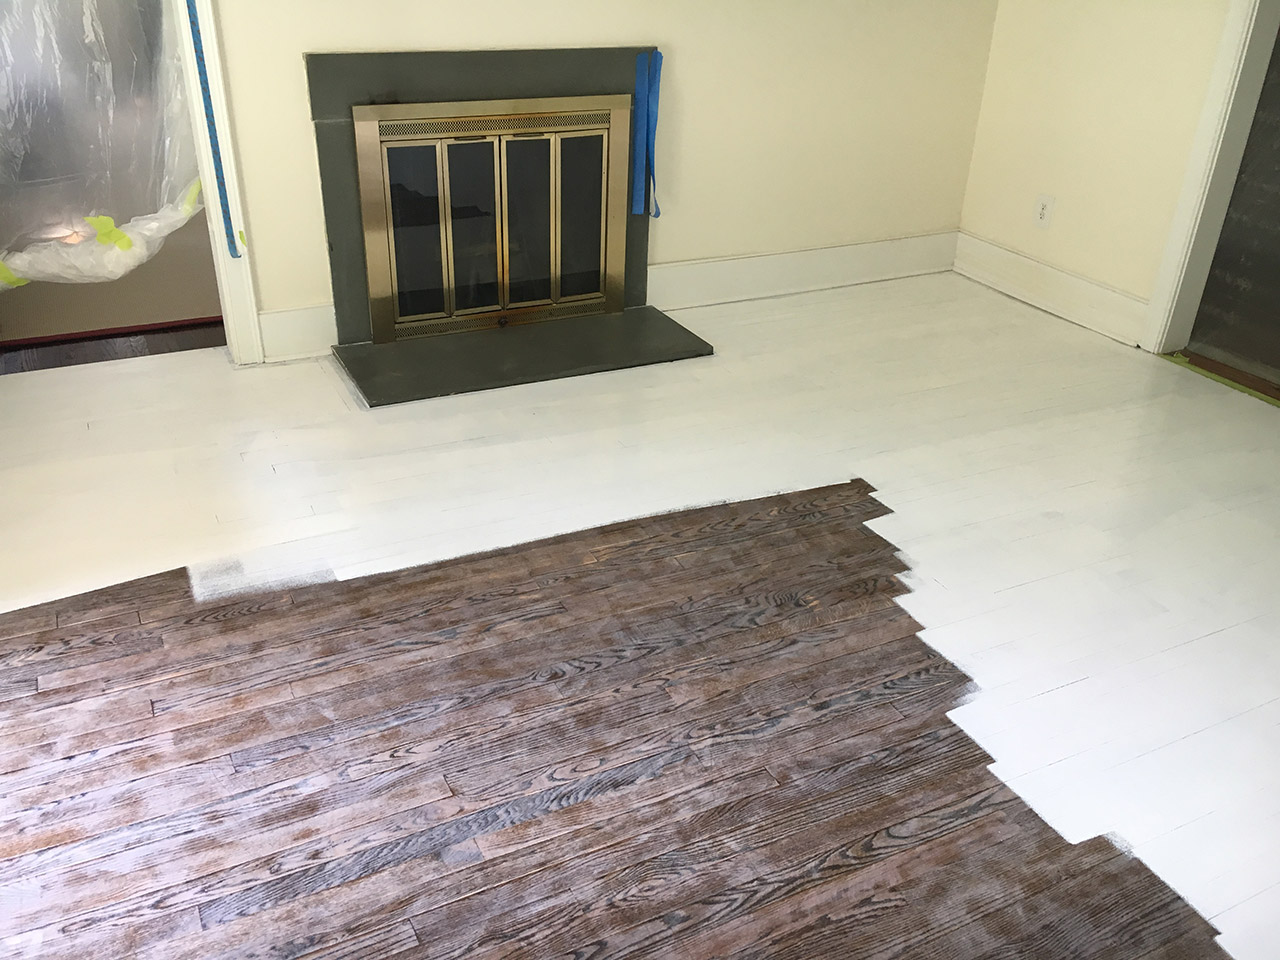
This white top coat I use is usually a satin sheen. This is so my decorative finish paint has a surface that will not be readily absorbent and my paint can be moved around and manipulated more easily.
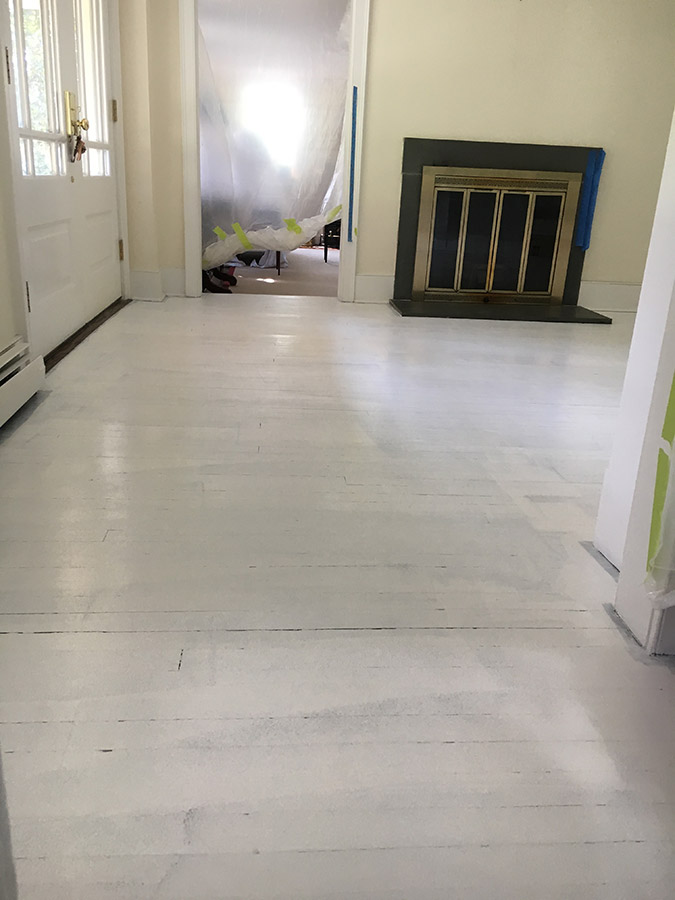
Next I measured out the floor to ensure its symmetry marking everything on a notepad or graph paper and then draw out the design lightly in pencil. At this point I am ready to start the faux marble process. I have separate pots of paint with each color. I like to paint in the darker blocks ( squares ) first. Each marble block is creatively and specifically designed with regards to how the adjacent block will take form. I am ALWAYS conscious of direction and movement of each individual block or marble. I do not want any of them competing with each other. This could result in a very awkward look of the floor. I always keep in mind the final composition even during the infancy of the painting. What i paint first will have an affect on what i paint last. They ALL MUST relate on a harmonious fashion and this is a reason why faux painting is often more desirable than an authentic material. I can produce and or manipulate the course of color, direction, and composition in everything i paint. This benefits everyone and also is not a strain of our sometimes depleted natural resources in our precious natural environment.
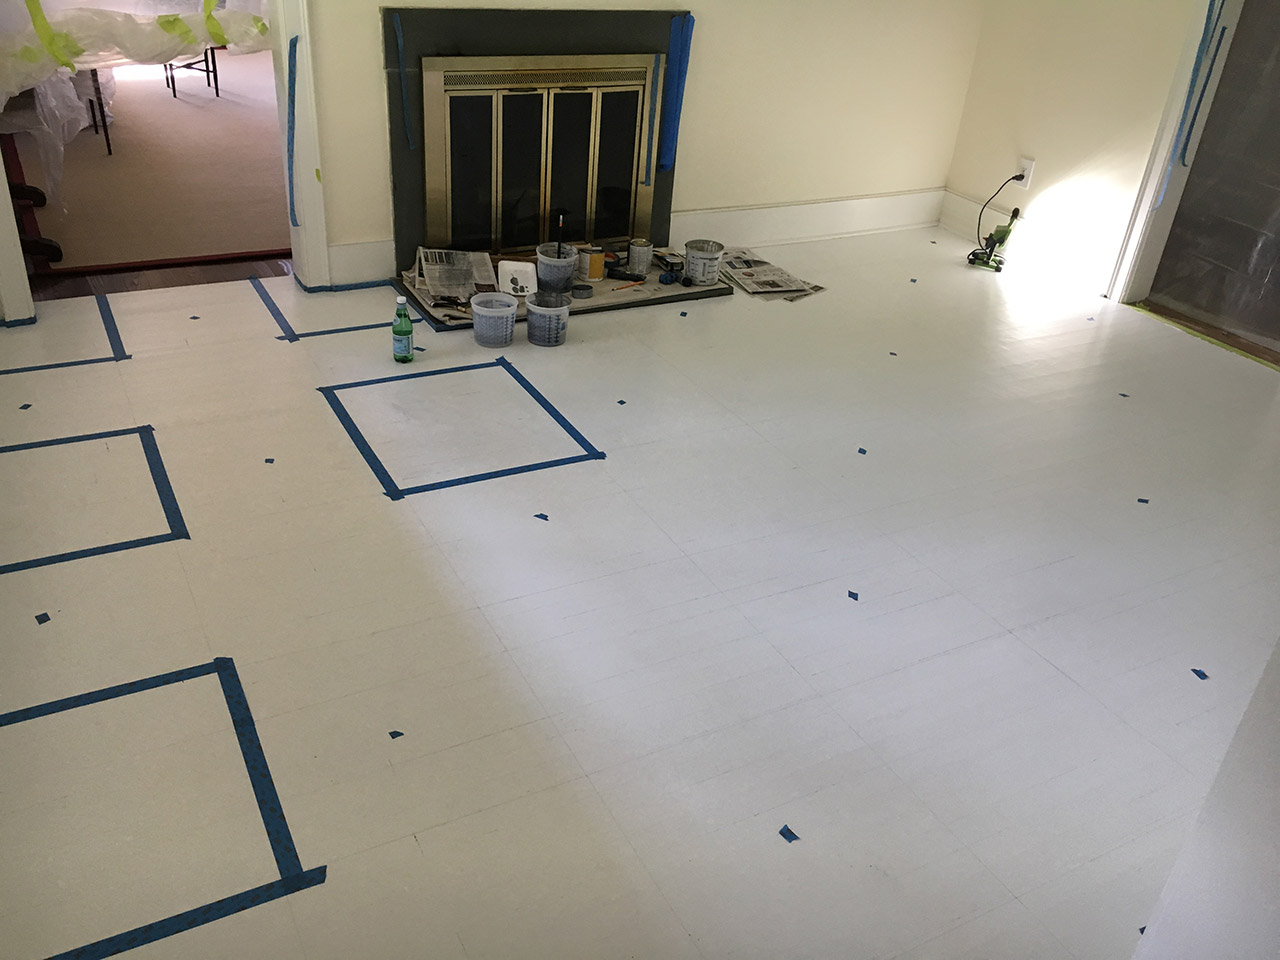
After the darker charcoal blocks of marble have been painted and completely dried I then applied the lighter colored stone blocks, and again paying attention to the direction and weight of the design. These marble blocks are intentionally painted close together warranting no grout or mortar lines, unlike the faux marble blocks painted on walls.
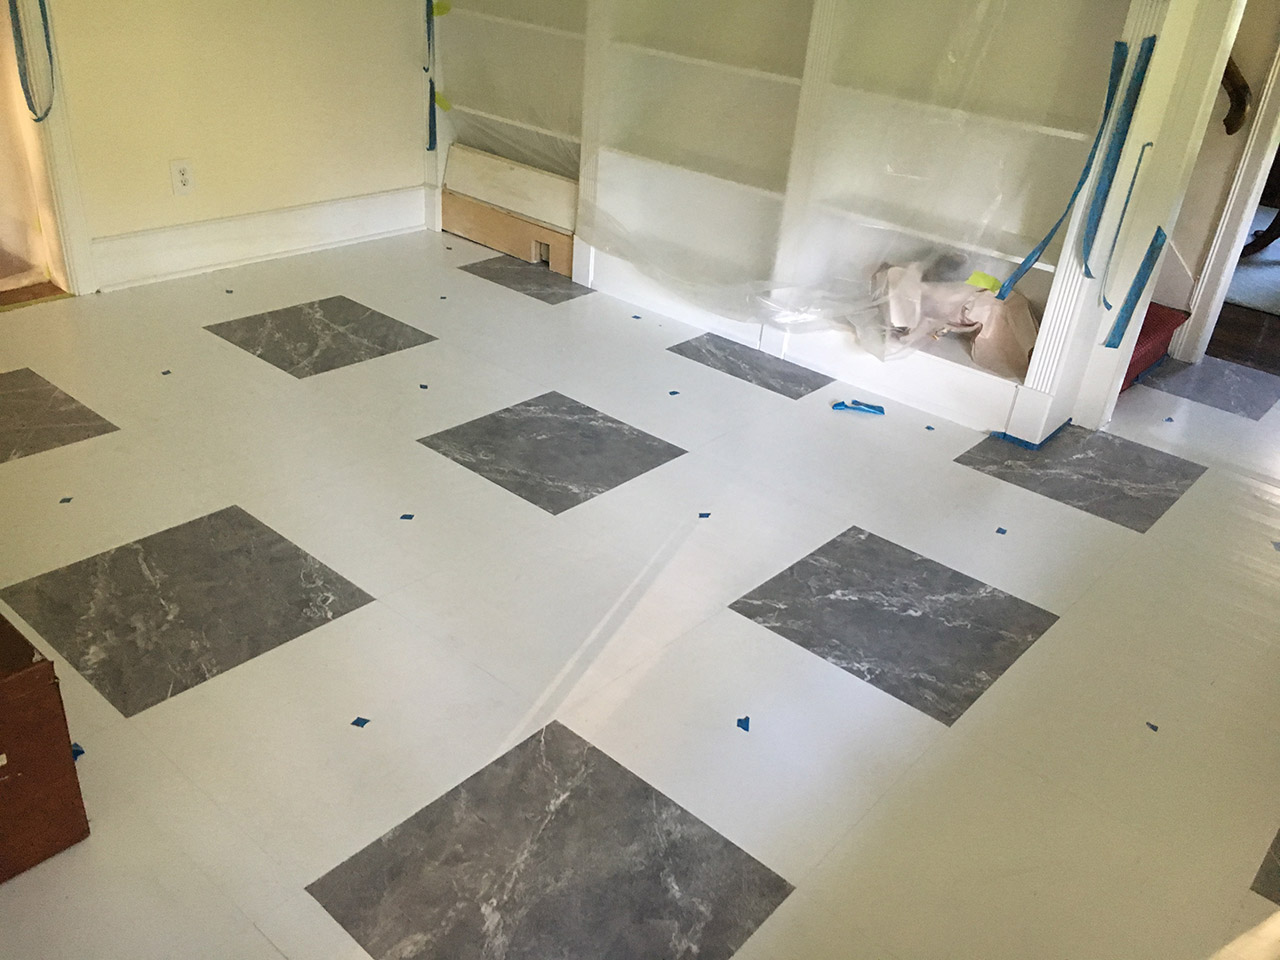
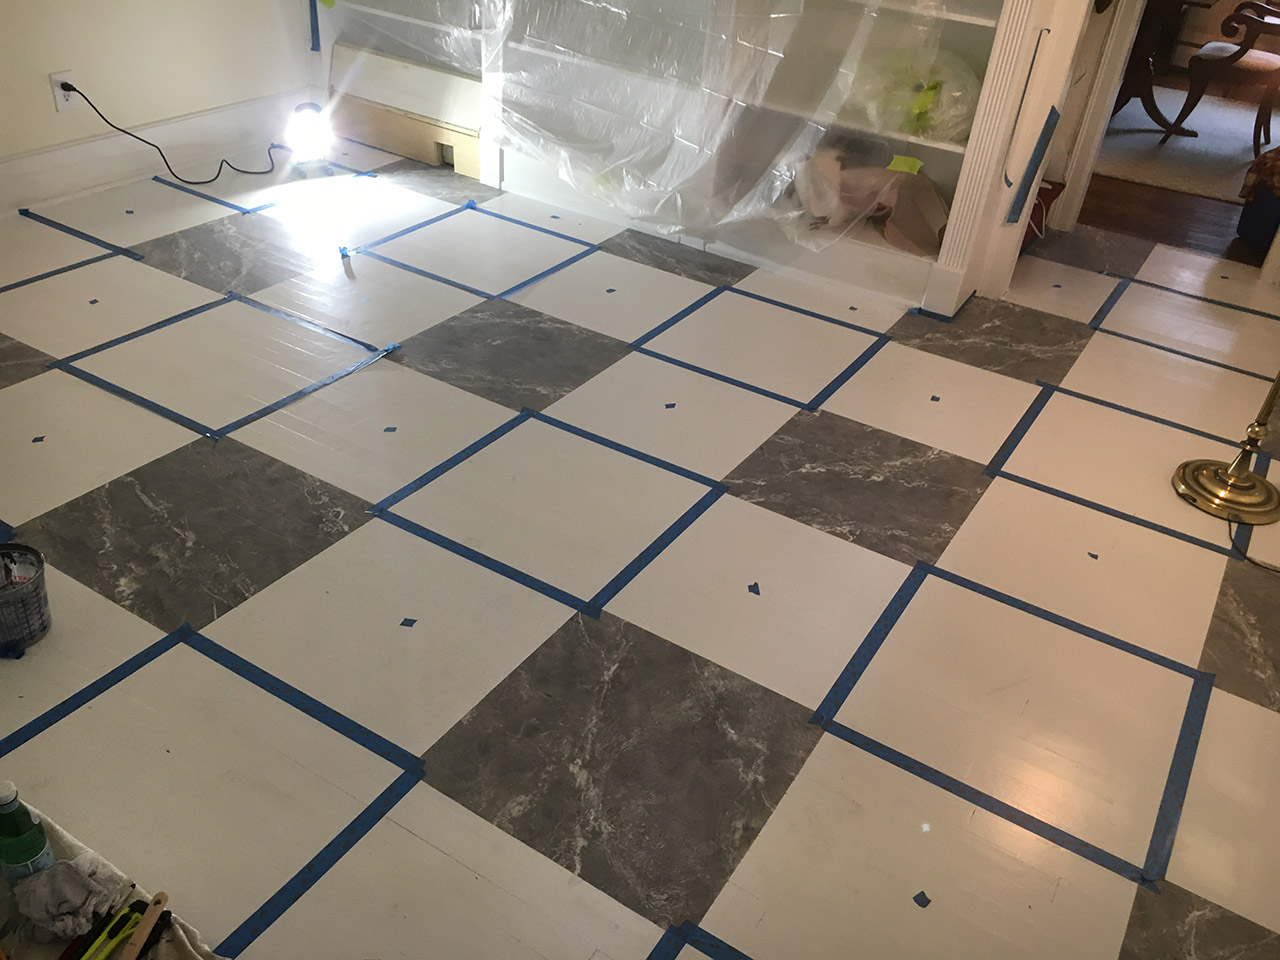
After the light colored marble is complete I take careful notice of the overall composition of the floor and how it relates to itself and the room, at this point I will address any blocks of marble that may need some “tweaking” as in they may receive some more attention of extra veining or subtle bands of color. Faux finishing is not always about recreating what nature has to offer but a replication with the liberty to enhance color and composition. I know … I know … I keep on saying this, BUT this is one MAJOR benefits decorative painters have to offer over a natural stone. We have the ability to manipulate everything nature has to offer; color, direction, weight, texture, value, intensity and composition. Then, of course a faux painter can add yet more dimensions by manipulating the paint and glazes with iridescent and metallic mediums such as mica powders, metallic paint and real metallic powders. Faux painting is after all Art.
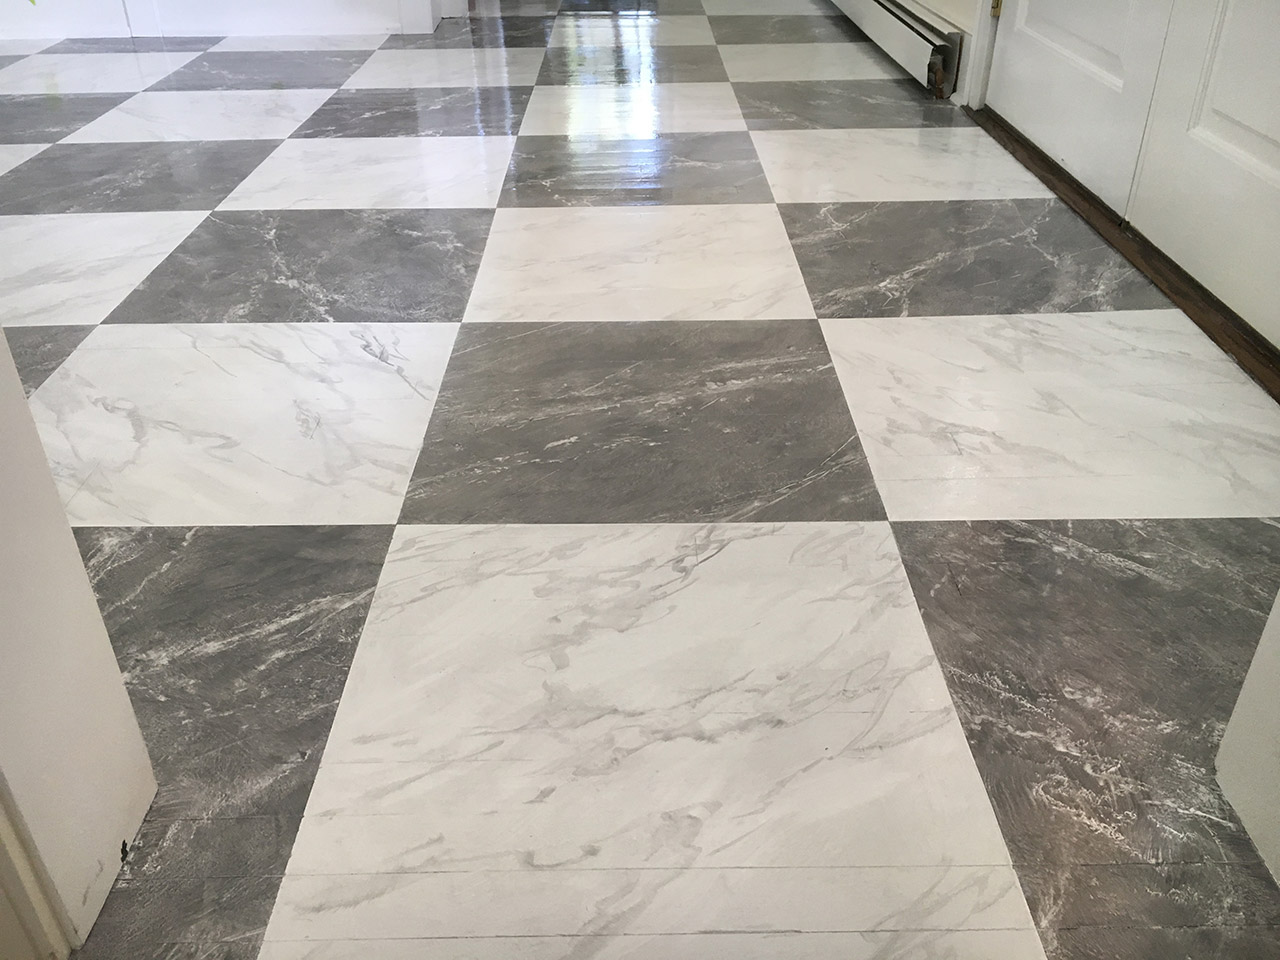
Finally, the floor has the faux marble look we were going for. Now the final clear coat is applied. I use and have been using a particular water based product for commercial and residential use for over 20 years and love the results. The major benefit is that it is highly durable to even heavy foot traffic. In commercial spaces with super high traffic I recommend that the floor should have a recoat every year. The sheens offered are dead flat to satin, semi gloss, and gloss.
Now we have a finished beautiful durable oak floor that looks like a stunning marble floor for all to admire and enjoy.
